Count cycling amongst your list of hobbies long enough and you will eventually accumulate gear for every possible weather condition. Arm and leg warmers, vests, long sleeve jerseys, full zip, 1/2 zip, bib-shorts, tights, gloves, glasses for every lighting condition, etc.
Your road shoes are very well vented. Your feet will thank you all summer, but come fall, a heavier pair of socks just isn’t going to cut it. Bring on the toe covers!
Having a look at AllSeasonCyclist‘s winter gear he writes that he has 12 pair of toe covers! I was looking for my 1st pair to cover up my very well vented Diadora Speedracer 2 Carbon shoes that I picked up just a few weeks ago at the Toronto Fall Bike Show. I do have a couple of pairs of shoe covers, or booties as they are known, for more extreme conditions, but was looking for something a little more civilized for those cool, dry fall rides. After a bit of searching, I decided I would just make my own.
Let’s start with a look at the finished product:
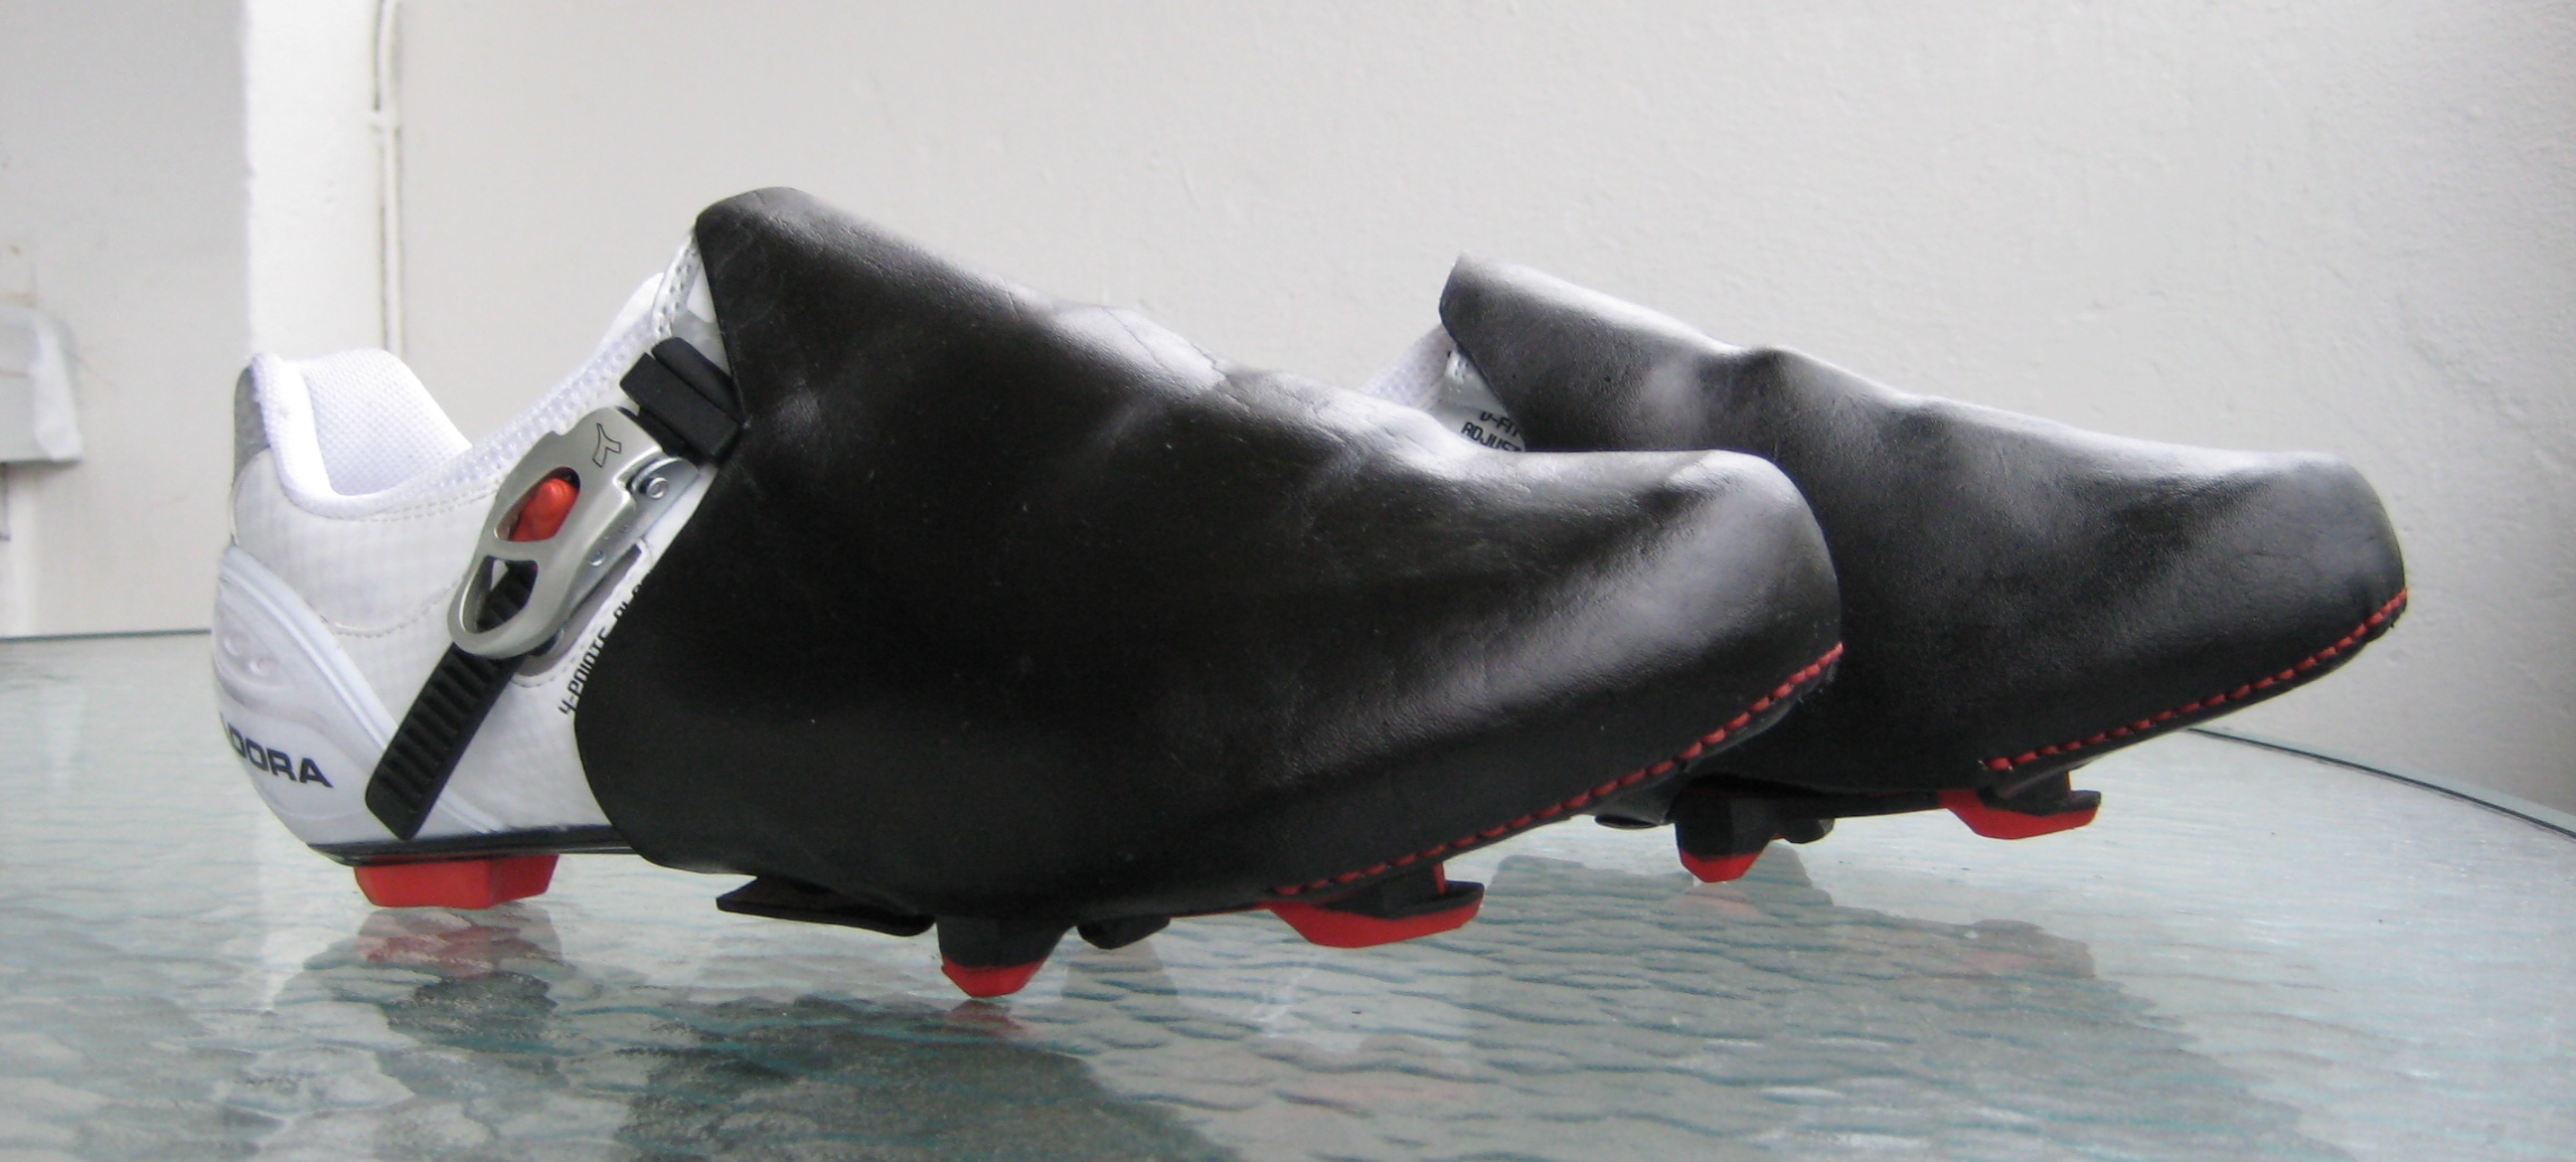
Leather toe covers for Diadora Speedracer 2 Carbon shoes
My BMC Streetfire is black and red with white decals and bar wrap. My Diadora Speedracer 2 Carbon shoes are white with red and black accents. I figured I would carry those colours into the toe covers. I dyed the leather with Fiebings USMC Black leather dye and used a red braided nylon thread to really make the stitches stand out.
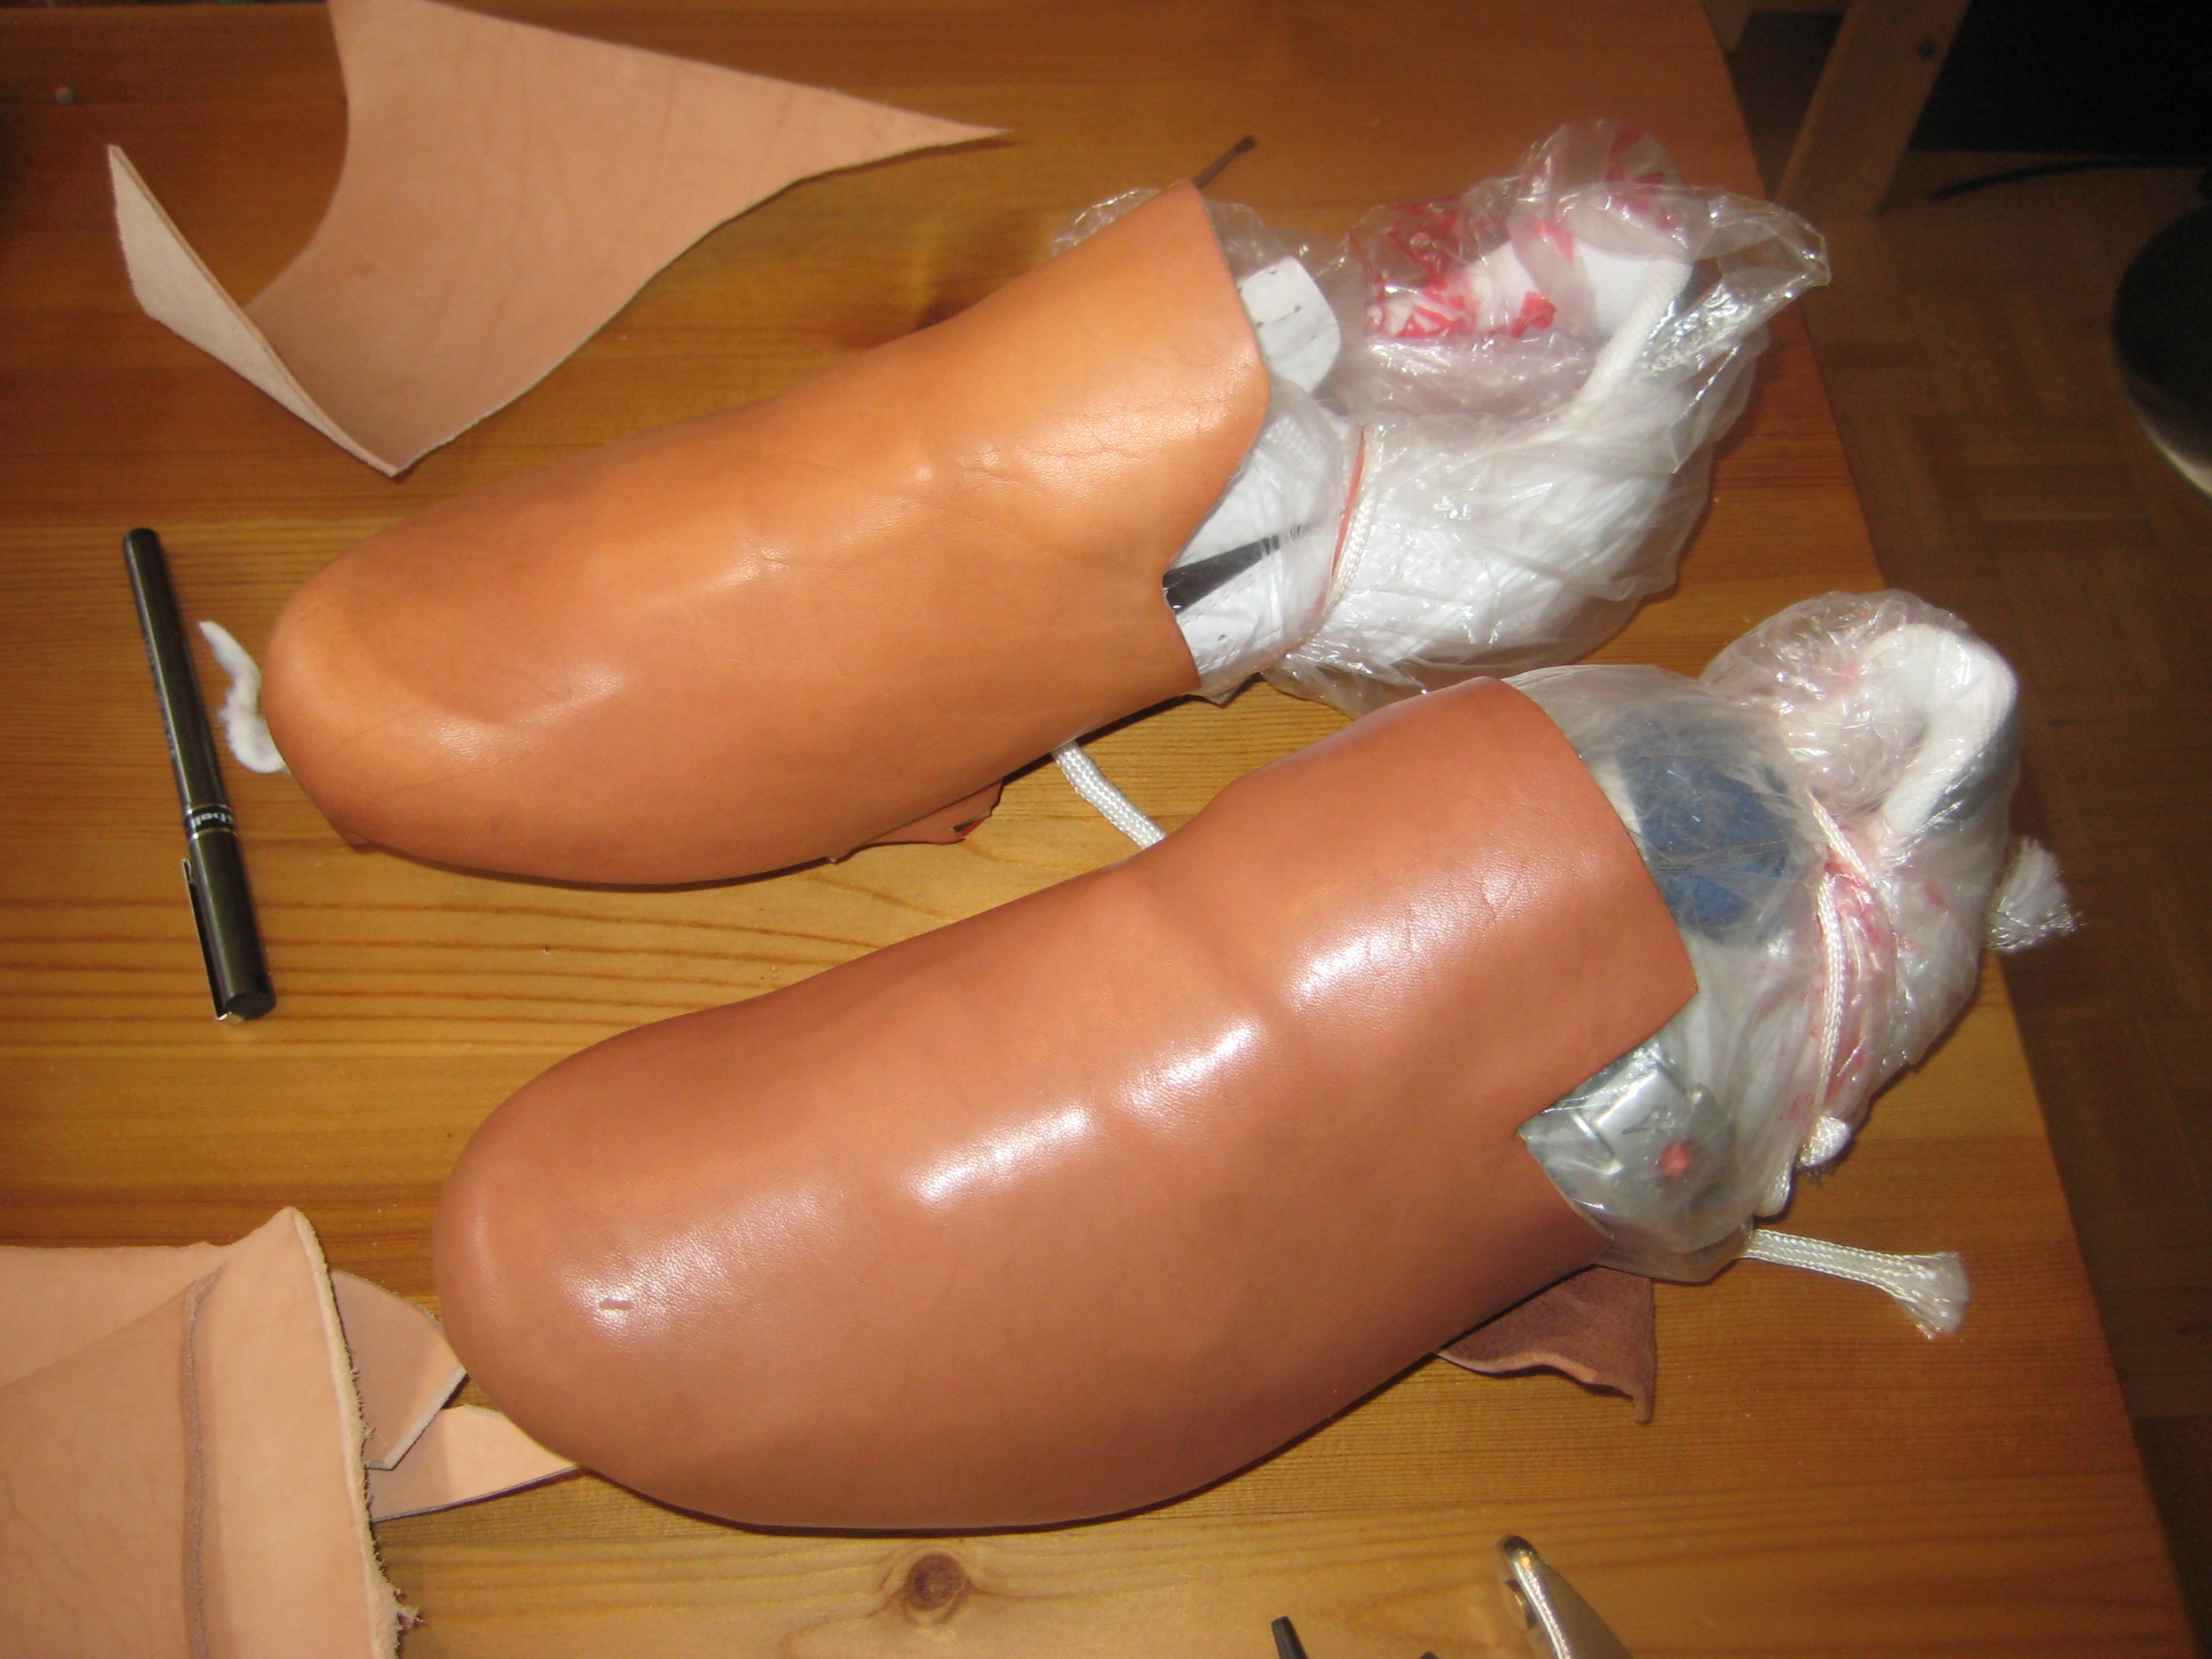
The whole process starts by making some paper patterns until you have an idea of how much leather you might need. I then soaked the leather for about 40min and here’s where things literally start to take shape. I worked the leather around the edge of the shoes, pulled the leather into position with cord, stretching and compressing it, before letting it dry overnight. This part isn’t pretty…

Working and stretching the leather into shape
By the next morning they were dry and starting to look like a toe cover:
I cut off the excess from around the edges, made a piece for the bottom, shaped it slightly and dyed all of the pieces:

Dye Another Day
Oops, missed a step or two. Use the stitch groover so that your stitches will be “counter-sunk”, mark all of your holes for stitching, re-dye that strip, mark and rough-up the sections to be glued, apply the contact cement, line the pieces up, fit them into place and begin stitching:
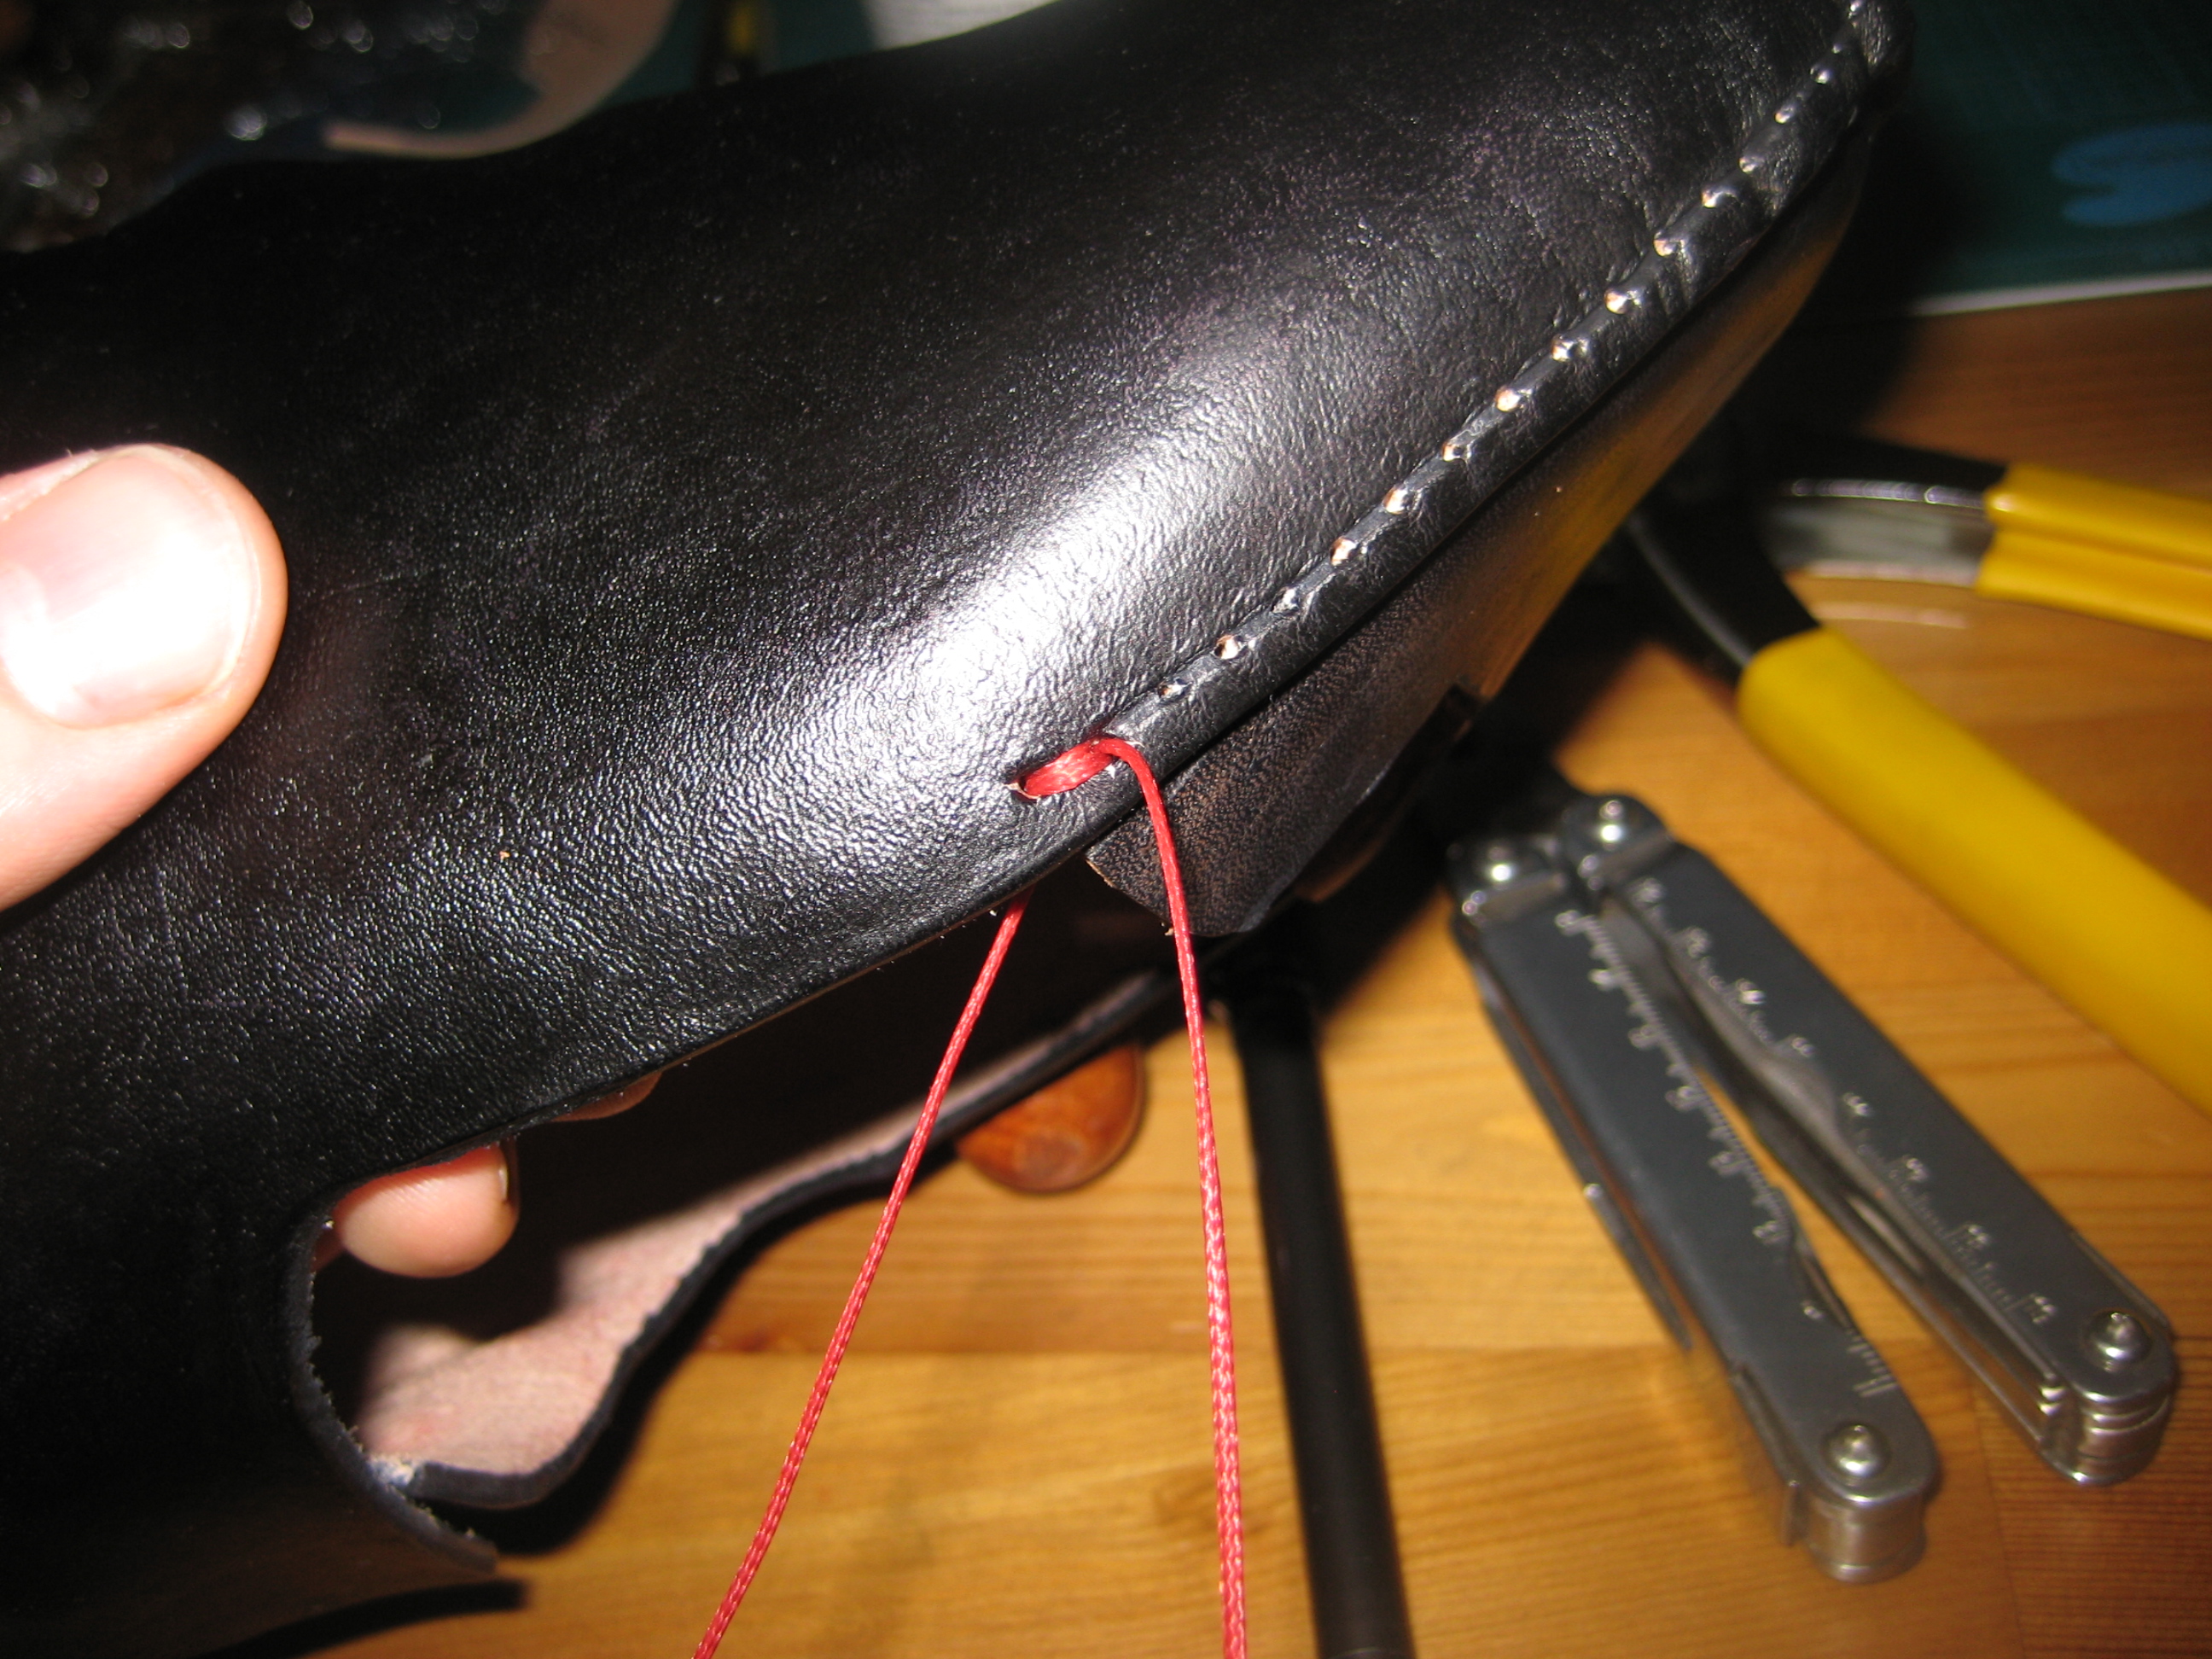
a Stitch in thyme
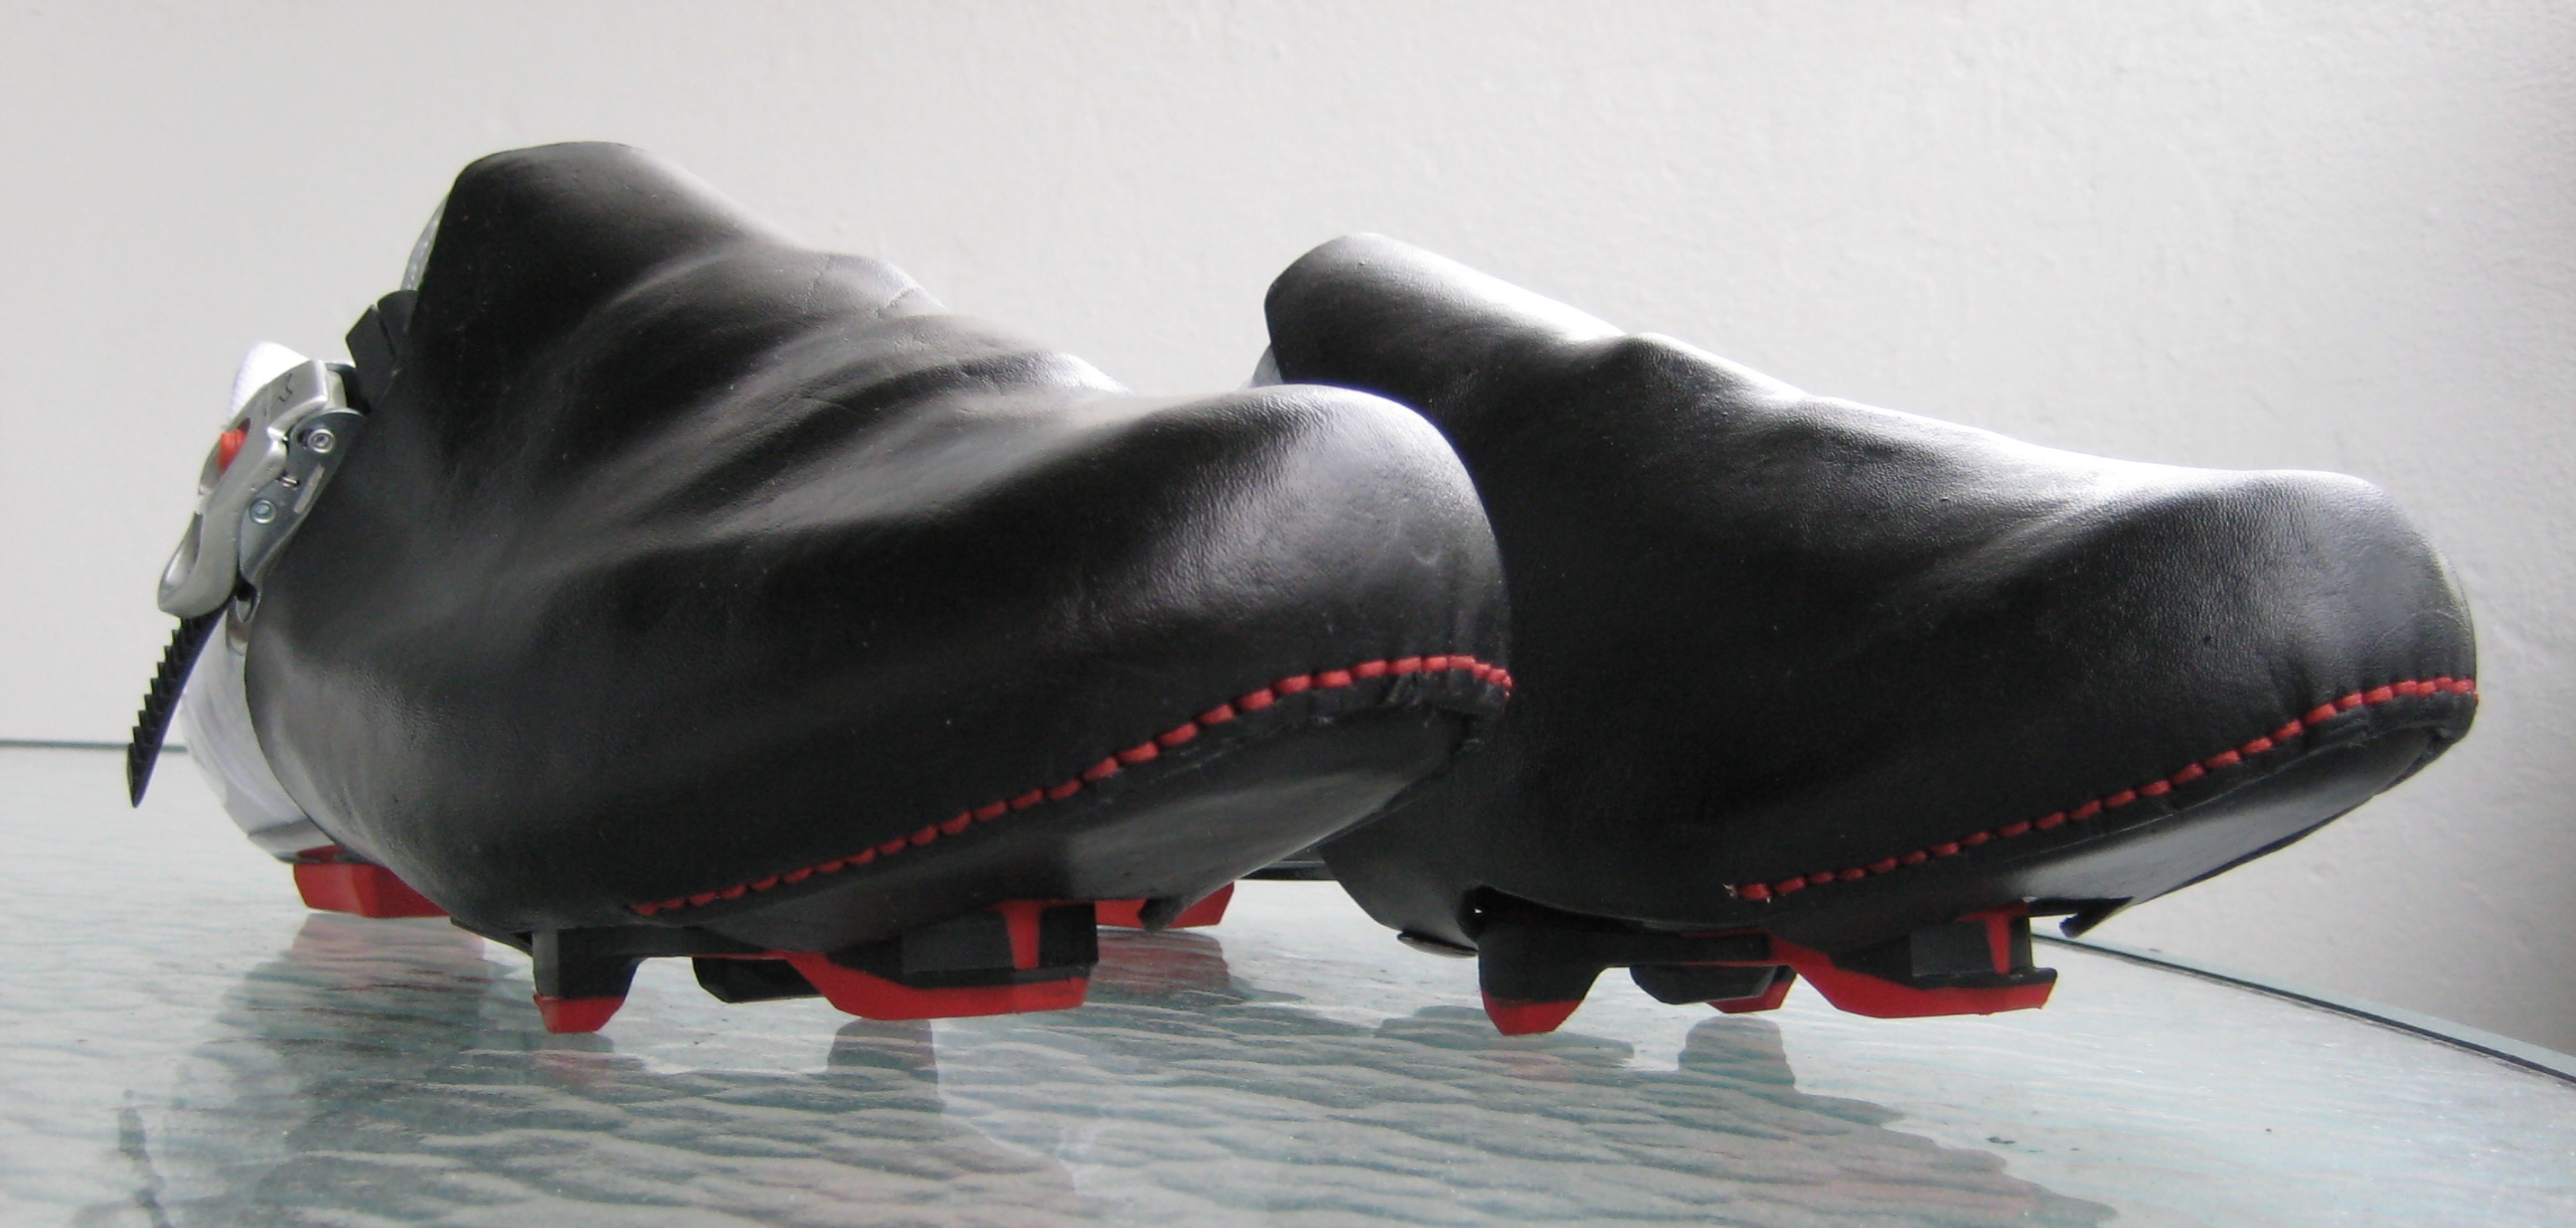
…and then it’s just a matter of cleaning up all of the edges, fitting some snaps to secure the cover around your shoe and applying some finishing products to protect the leather. Here they are with my Time Espresso 6 cleats fitted into place:

…and then it’s time to enjoy the finished product:

Voila!
Time to get out and enjoy them. See you on the road!

You must be logged in to post a comment.